Next step was to prep everything for paint. As well as the 4 assemblies, there are still lots of loose pieces that needed to be painted.

Some I mounted up on skewers and the rest that required a good paint finish on both sides I use some tape loops and stuck them down to the back of the kit box. Once mounted I sprayed one side with the primer and after it dried for a while I flipped them over and did the other side.

I was amazed it all worked relatively well and even more amazed how much the single colour actually brought everything together.

Once that dried and after a week or so of umming and ahing about the over all theme for the kit, North African dessert scheme or European scheme (its all about the big decisions) I pulled the trigger (literally) on a Tamiya Dessert Yellow (XF-59) for the base coat.


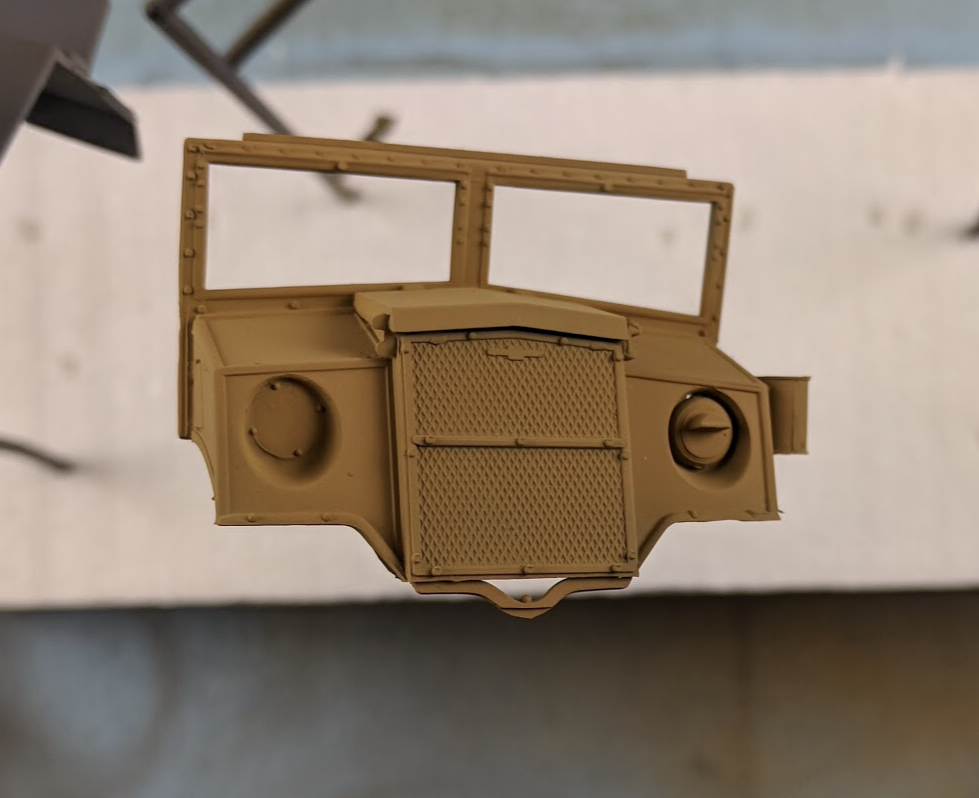

Pretty happy with the base colour choice.

Looks like I need a steadier hand (or less coffee) to do the fine detail work and not go over the line :-) when painting next to other colours. Will need to fix this later.

Start working on some detail next time see what happens after that.
Until then.
No comments:
Post a Comment